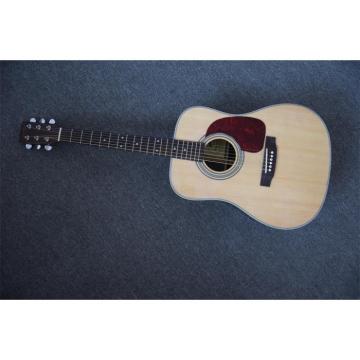
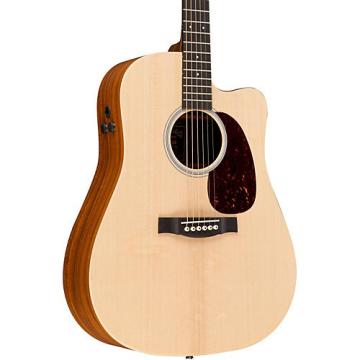
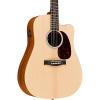
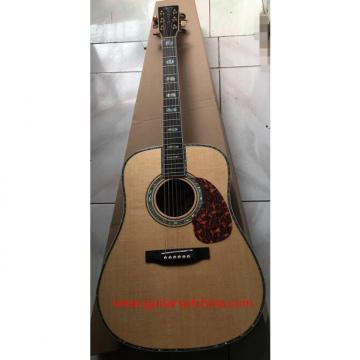
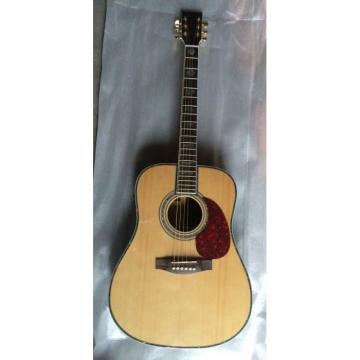
The Martin DCPA5K acoustic electric guitar combines that world famous Martin Dreadnought sound with the contemporary playability of an electric guitar. Its solid Sitka spruce top is braced perfectly to give you a rich, full- bodied tone that is versatile enough for any musical situation. The body is rounded out with a forest-friendly Koa HPL back and sides to give you an attractive visual look.
As part of the Martin Performing Artist Series, this guitar was crafted to be a "players dream." The DCPA5K features a very playable laminate birch neck, with a Performing Artist neck taper. This precision-cut neck has a fast, FSC Certified Richlite fingerboard, and a 1-3⁄4 in. nut width, to give you the right amount of spacing between the strings.
Looking for electronics, the Martin DCPA5K comes complete with an on-board Fishman Sonitone. This soundhole- mounted-preamp features easy-to-use rotary controls for Volume and Tone. The controls are mounted conveniently under the soundhole for easy access while you are performing. All you have to do is plug in and play. You’ll have a studio-quality sound right out of the box.
Body
Body type:D-14Fret
Cutaway:Single cutaway
Top wood:Sitka Spruce
Back & sides:Koa pattenHPL
Bracing pattern:Scalloped
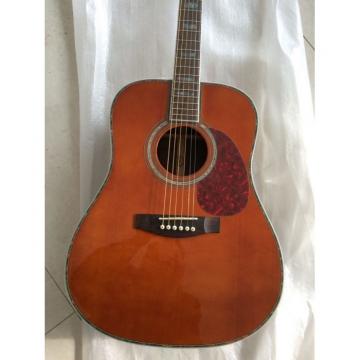
Body finish:Hand-rubbedClearcoat
Orientation:Right handed
Neck
Neck shape:Performing Artist ProfileHigh Performance Taper
Nut width:1.75 in. (44.45 mm)
Fingerboard:FSC Certified Richlite
Neck wood: Brown Birch Laminate
Scale length:25.4"
Number of frets:20
Neck finish:Hand-rubbed
Electronics
Pickup/preamp:Yes
Brand:Fishman
Configuration:Soundhole mounted preamp
Preamp EQ:3-band
Feedback filter:Notch
Tuner:Yes
Other
Headstock overlay:Koa HPL
Tuning machines:Chrome Enclosed Gear
Bridge:RichliteFSC Certified
Saddle & nut:White Coriian, Compensated white tusq
Number of strings:6-string
Special features:Tonewoods
Case:Sold separately
Accessories:None
Order this special guitar today!
Custom Guitar's Friend Gold Coverage
Gold Coverage goes above and beyond the manufacturer's warranty to protect your gear from unexpected breakdowns, accidental damage from handling
and failures. This plan covers your product for one, two, three or up to five years from your date of purchase, costs just pennies per day and gives you a
complete "no-worry" solution for protecting your investment.
Gold Coverage Includes:
Unexpected and unintentional spills, drops and cracks
Normal wear and tear
Power surges
Dust, internal heat and humidity
Other plan features include:
For products over $200, No Lemon Policy applies. If it fails for the same defect 3 times, it is replaced on the 4th breakdown. (Does not apply to failures due to drops, spills, and cracks)
For products under $200 experiencing the above failures, a Custom Guitar's Friend gift card will be issued for the full price of the product + tax.
Shipping fees covered if required for repair or replacement
Plans are transferable in the event merchandise is sold
Plans are renewable on new gear
*Limitations and exclusions apply. See terms and conditions for program details
Term for New Gear begins on date of purchase but does not replace the store return policy or manufacturer coverage.